
This article describes the installation instructions for SystemWeaver's Web API.
Prerequisites
- Familiar with the SystemWeaver meta model building blocks (e.g., Items, Parts and Attributes)
- An installation of SystemWeaver version R52 or later
- The SystemWeaver Web API installer and required files.
- .NET 9.0 Desktop Runtime installed.
- IIS (Internet Information Services) Manager installed.
- Visual Studios installed.
- .NET Hosting Bundle installed. Restart required.
- SystemWeaver server is running.
- Download and unzip all files in your Web API delivery to a local drive.
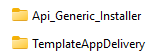
- TemplateAppDelivery contains all programming files for the templates
- Api_Generic_Installer contains the SystemWeaver microservice API installer
Running the Installer
If you do not have .NET 9.0 Desktop Runtime installed, you will first be prompted to install it. If you need to install it, complete a restart afterwards before proceeding with the installer.
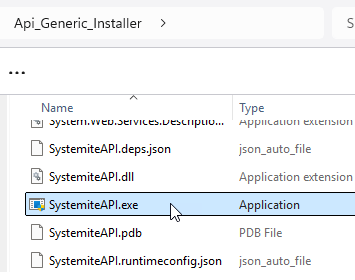
- Run SystemiteAPI.exe located in the Api_Generic_Installer folder to start the installer.
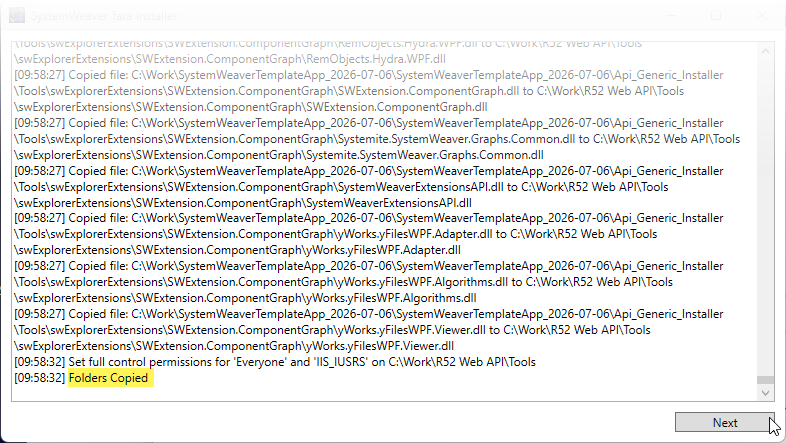
- For Select Destination Path, select where the API files will be installed and what Port they will use (selected port + next 3 will be used).

- Click Next. When the log shows "Folders Copied", it is completed.
- On the next screen, enter valid values for the following:
- The Server IP where the SystemWeaver server is located and running.
- The Server Port the SystemWeaver server is using.
- The Handle, e.g., x13000000013C1DC6, of the Library in the SystemWeaver server that the items are assigned to. You can retrieve this xID by viewing the library in Managing Libraries.
- The password for the 'system' user account in the SystemWeaver server.
- Once all of the above values are entered and the log indicates "successful installation" and "IIS and necessary components are ready." as shown below, click Deploy. need to add and remove a space in the Library field to activate the Deploy button.)
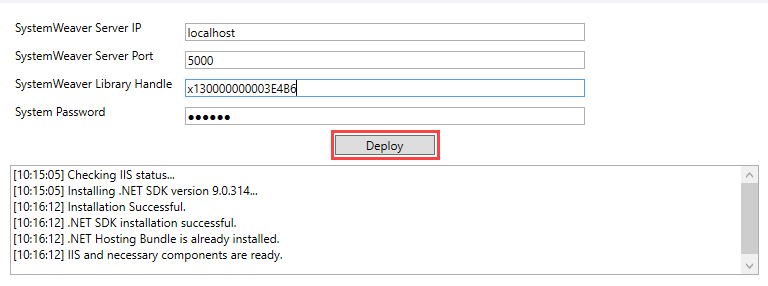
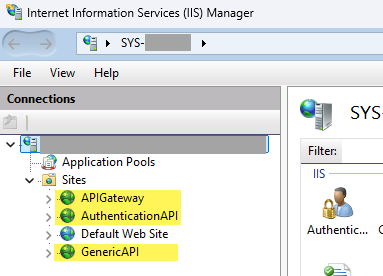
Deployment is completed when you receive the message "IIS site creation completed.". Close the installer. - Open up IIS (Internet Information Services) and check that you have 3 new sites (APIGateway, AuthenticationAPI and GenericAPI).
Configuring and Installing Template Projects
- Using Visual Studios, open up the TemplateAppDelivery.sln file inside the TemplateAppDelivery folder.
- Open the appsettings.json file in the TemplateApi folder.
- For "SystemWeaverServer", enter the following:
- Port: the port the SystemWeaver server is using
- ServerAddress: where the SystemWeaver server is located and running
- SystemLogin: system
- SystemPassword: the 'system' account password
- For "ConfigData", enter the following:
- LibraryHandle: The Handle of the Library in the SystemWeaver server to be used.
- LibraryHandle: The Handle of the Library in the SystemWeaver server to be used.
- For "SystemWeaverGateway", enter the location (IP and Port) of your APIGateway. The port will be the first port that you selected in configuration.
- For "SystemWeaverServer", enter the following:
- Open the IIS and manually Stop and then Start each site to reload all configurations.
- Run the TemplateApi project.
- Run the TemplateApp project.
Logging in with TemplateApp
- Log in to the application through the login screen (from the launched TemplateApp) with an account from your SystemWeaver server.
- You should now be greeted with an webpage that displays all your Requirements in you server (SID = RQ).